Welcome to Resourceful Mind! Through my extensive experience in teaching design, engineering, graphics, food and textiles, I've developed resources that make topics easy to understand. My materials include clear visuals, simple explanations, and engaging tasks to reinforce learning and support learners.
Welcome to Resourceful Mind! Through my extensive experience in teaching design, engineering, graphics, food and textiles, I've developed resources that make topics easy to understand. My materials include clear visuals, simple explanations, and engaging tasks to reinforce learning and support learners.
Food lessons
1 - 3 food lessons planning evaluating and demonstrating a flapjack
Stater
Demonstration
Mini review on demonstration
sensory evaluation using star profile
Mini review
Planning activity
Differentiated support sheets
Exit card
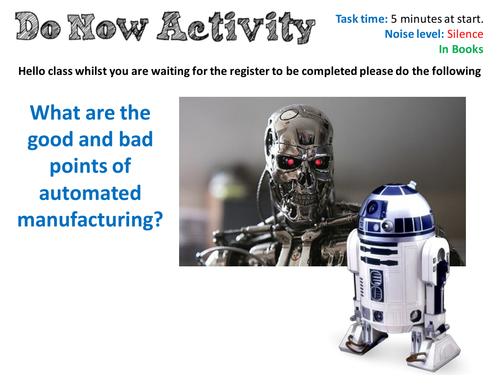
Btec Engineering Learning Aim A Automated Engineering
A power point presentation with starter activity, notes, video links, tasks and plenary that cover this learning aim
Btec Engineering Learning Aim B High composite materials
A powerpoint presentation that includes a starter, introduction, main activity, video links, task and plenary for this learning aim
Btec Engineering Learning Aim A Casting and forging
A power point presentation with starter activity, notes, video links, tasks and plenary that cover this learning aim
I needed a cover Design and Technology lesson that was going to be taught by a Maths teacher so I created this. Hope its useful to someone else as well.
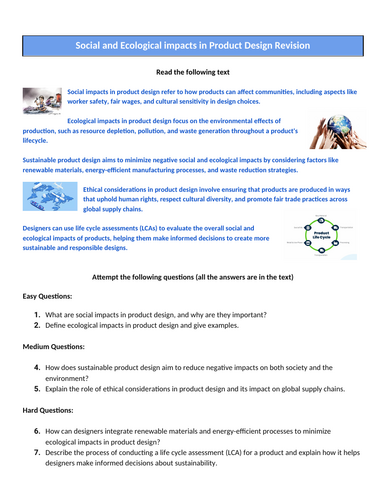
3 revision activities for GCSE product design covering Social and economic impact in product design, Smart Materials and standards and legislation.
Simple text and easy to hard questions to help them prepare for the exam. Could be printed off and left for cover work as well.
I created this lesson for a non specialist to cover a DT lesson, can be used as a standalone or over a couple of lessons.
Lesson plan: Draw a living area using a grid and symbols:
Objective: Students will plan and draw a living area layout using a grid system and symbols to represent furniture and objects.
Materials Needed
Grid paper or drawing paper (a pre-drawn grid is available in slides will need to br printed out A3)
Pencils, erasers, rulers
Example floor plan diagrams for reference
Lesson Steps
Introduction (10 minutes)
Introduce the concept of floor planning and how architects and designers use grids and symbols to plan living spaces.
Show examples of floor plans and discuss
Symbols(10 minutes)
Introduce common symbols used in floor plans to represent furniture (e.g., beds, sofas, tables), doors, windows, and other objects (e.g., TV, plants).
Mini review
Grid Basics (10 minutes)
Explain the grid system and how each square on the grid represents a specific measurement (e.g., 1 square = 10cm).
Demonstrate how to measure and mark the grid using rulers and pencils.
Planning Phase (15 minutes)
Assign students to plan their living area layout on the grid paper.
Encourage them to consider scale, proportions, and functionality (e.g., placement of furniture for traffic flow).
Drawing Phase (20 minutes)
Once planning is complete, instruct students to start drawing their floor plan using symbols for furniture and objects.
Emphasize neatness, accuracy in scale, and clear labeling of symbols.
Extension activities
Review and Discussion (10 minutes):
Have students display their floor plans and discuss their design choices with classmates.
Encourage peer feedback on layout effectiveness and creativity.
Reflection (5 minutes):
Ask students to reflect on the challenges faced during the activity and what they learned about floor planning and design principles.
Challenge advanced students to incorporate additional elements such as color codes for different areas (e.g., living room, kitchen).