5 lessons around the Anglo Saxons
includes:
Life of the women and children
Religion
Law
Daily life
Settlement
Each powerpoint has information and then activities at the end. These can be purchased individually as well. please look at individual lessons for what is included within each powerpoint
This is a six week block on creating a fairground ride.
We chose to make carousels and this is a week by week build up to the final piece
lesson 1- what is a mechanism? Know what a pulley is.
lesson 2- How to make a circuit
lesson 3 - design a fairground ride
lesson 4 and 5 - make your carousel (there is a video that i followed from you tube)
lesson 6 - evaluation
this has been updated with new links :)
(There are other resources and different fairground rides to make on the tts website. You can buy the kits off there and they are made slightly differently but if you are short of funds my way is a cheaper way to do it :) )
This includes six sessions, lessons 2-6 will need clay and tools
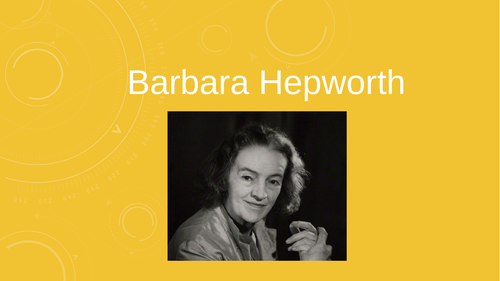
lesson 1 - introduction to Barbara Hepworth - key facts- birth/death/born
what type of artist she is. Key quote from her for the children to learn. examples of some of her sculptures. task is to produce a piece of abstract art on how they are feeling. key words- sculpture and sculptor.
Lesson 2 - recaps key facts and what they can remember from the previous week, video on what clay is. task is to mould the clay in different ways - there are pics for the children to follow.
Lesson 3 - recaps key facts and what they can remember from the previous week. Looks at two key sculptures - monolith - empyrean and sphere with inner form - discussion of the shapes the sculpture shows. Looks at the tools used for clay and what they are used for. task - children to experiment with the tools and how to cut the clay.
Lesson 4 - recaps key facts and what they can remember from the previous week. Looks at another two sculptures - figure for landscape and rock form.
quick recap of tools and a video of how they can use the tools and things around the classroom to create textures and patterns on the clay. task - children use tools to create textures and patterns on their piece of clay.
Lesson 5 - recaps key facts and what they can remember from the previous week. score a slip technique - uses video to show the children. task - children use this technique to stick two pieces of clay together.
Lesson 6 - Recap of everything that they have learnt in the previous weeks. They are going to then create their own Barbara Hepworth sculpture and use the techniques they have learnt over the term.
These will be available as individual lessons as well if needed
I use this with a Year 5 class but can be adated for younger if needed.
This resource is half a terms worth of lessons. included in each lesson is
Session 1 - Background on bug shelters.
Session 2 - To practise making joints.
Session 3 - Create a prototype.
Session 4 - Start making a bug shelter- frame of the shelter.
Session 5 - Carry on making a bug shelter
Session 6 - Put on final touches to the bug shelter
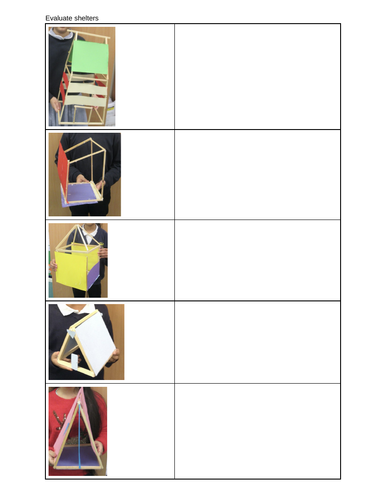
Session 7 - Evaluate your shelter.
There are videos and links to support the learning. The end goal is to create a bug shelter using wood and strengthening it with triangles. Then pack it out with natural materials from the environment and recyclable materials.
This is a full terms worth of lessons.
Session 1 - Background on Anderson shelters.
Session 2 - To practise making joints (using artstraws).
Session 3 - Evaluate previous shelters and create a prototype.
Session 4 - Start making an Anderson shelter - frame of the shelter.
Session 5 - Carry on making an Anderson shelter - frame/ door.
Session 6 - Put on final touches to the Anderson shelter - paper to cover the frame to represent turf - could add art straws to represent corrugated steel.
Session 7 - Evaluate your shelter.
There is one powerpoint that has all of the lessons on. There are you tube video links and step by step through each lesson