Welcome to Resourceful Mind! Through my extensive experience in teaching design, engineering, graphics, food and textiles, I've developed resources that make topics easy to understand. My materials include clear visuals, simple explanations, and engaging tasks to reinforce learning and support learners.
Welcome to Resourceful Mind! Through my extensive experience in teaching design, engineering, graphics, food and textiles, I've developed resources that make topics easy to understand. My materials include clear visuals, simple explanations, and engaging tasks to reinforce learning and support learners.
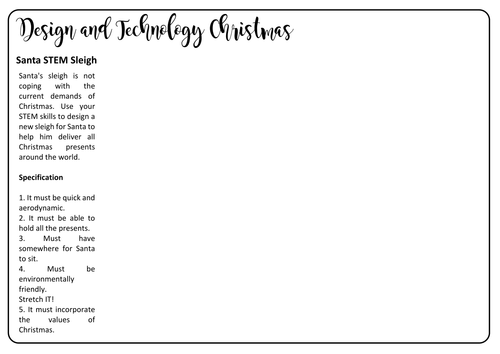
4 Christmas activities for ks3 DT.
Not the greatest stretching activities but I had to provide some quick cover work for a teacher for a non specialist. Might be useful to someone else too
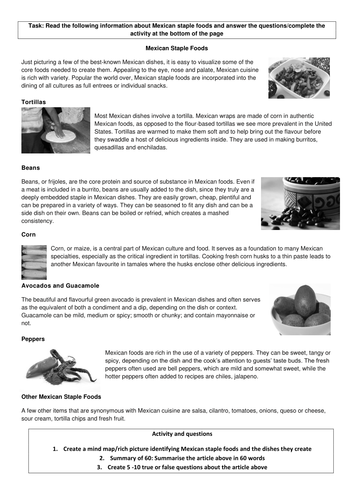
Quick resource I created for a cover lesson for my year 8 food class. We are currently learning about staple food ingredients. Could be useful for someone.
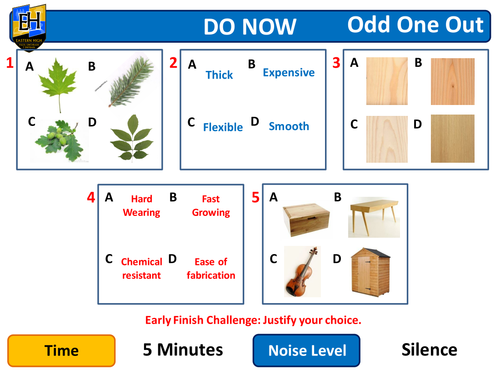
Lesson to meet requirements for teaching limitations and defects in wood to help pupils make informed choices when selecting timber.
Common defects of wood. (5min) Class
Teaching method: Introduce, pupils investigate, mini whiteboard to recall facts.
Rational: Introducing new vocabulary.
Line of questioning: When selecting wood, why is important to look for defects?
mini whiteboard: Progress check
Grading wood (5 min) Pair
Teaching method: Demonstration, Questioning,
mini whiteboard: Progress check
Rational: Make informed decisions, check progress
Selecting Wood (15 min) Pair
Teaching method: Facilitate pupils investigation, provide factsheets, pupils to record information found through scanning, circulate to guide pupils. Model scanning method.
Rational: literacy focus to develop pupils lit skills, pupils need the information to make informed choices, working in pairs to support each other.
Consolidating Information (10 min) Silence
Teaching method: Open question – ‘When selecting a wood species for a product what do pupils have to consider before committing to the material?’
Rational: Pupils to answer an assessment of learning question using as much detail as possible. Consolidating learning from this and previous lesson.
Learning Leading to
Pupils will have to select and justify materials for their products, they have to state what needs to be considered and how the materials they select can be quality checked and finished to achieve a good result.
Extension activity and Stretch it (10 minutes) Individual
How wood is graded. Pupils to investigate how wood is graded and what information they would find from a piece of wood graded wood.
A smoothie design lesson I made for year 7.
Especially useful in helping pupils use specifications to evaluate their designs.
Includes;
Stater
Video Links
Support sheets
Example
Exit Card
Please leave feedback
This lesson follows on from the revision of a designer lesson in my resources. The reasonong behind the lesson is to reiterate the work of the designer but to also focus on some sketching skills and design thinking. There are 3 tasks.
1 Practicing sketching - Straight lines, Curves, Ellipses, Perspective, Coverging lines
2. Practicing shading and contering
(if you are not great at product design then I suggest you use this video from you tube https://www.youtube.com/watch?v=r-UqGtsjKiU )
3. Design a clock using sketching skills in the style of Phillipe Stark
There are some visual images that you can use for inspiration as well.
Not my greatest resource but could come in handy
I have compiled a practice exam with answers to aid students in preparing for the WJEC product design and engineering exam. The questions are centered on the fundamental principles and concepts specified in the curriculum. The exam includes questions from the SAMs and previous papers, and I have created an editable document that can be printed and distributed to students.
Providing past papers and mock exams can help students to familiarize themselves with the format and style of the exam, as well as identify areas where they may need further study or practice. Encouraging students to practice with past papers and mock exams can also help to build their confidence and reduce anxiety around the exam.
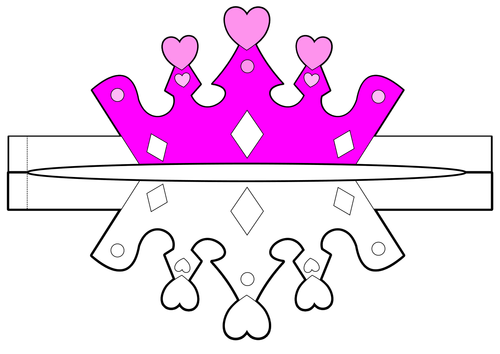
Colour in, Cut out and stick togethr these Pirates and Princesses Hats (Key stage 1 Art and DT)
I designed these for my kids craft party to colour cut out and wear, might be useful to someone.
A simple set of design and technology activities that could be used as emergency cover.
15 activities in total suitable for year 7 - year 10
I created these quickly as a teacher called in sick in the morning and needed some activities that students could work through independently without much instruction.
They are not perfect and done in a rush but they did they job!
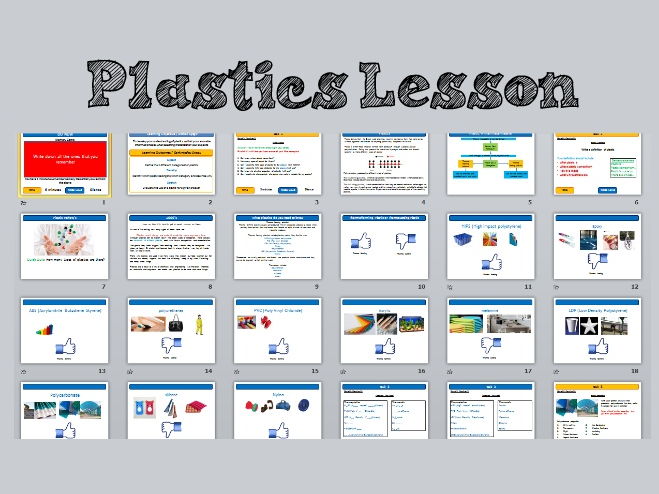
Introduction to smart materials when you just don’t have enough time or resources to give everyone a smart material to experiment with.
Good revision lesson too.
Includes:
Video link introduction
Key Vocubulary
Smart Material animations
Mini Review
Scaffolding Tasks
Example GCSE Questions
Exit Card.
Lesson Overview: This lesson focuses on how various technologies are transforming the efficiency and customer experience in the hospitality and catering industries. Pupils will explore the roles of key technologies such as Electronic Point of Sale (EPOS), contactless payments, iPads/tablets, apps, WiFi, QR codes, drones, robots, Near Field Communication (NFC), and LCD displays in improving operations. Through real-life examples and interactive tasks, pupils will gain an understanding of how these technologies contribute to the smooth functioning of hospitality establishments. They will also analyze the advantages and disadvantages of each technology and how these innovations impact both the business and the customer experience.
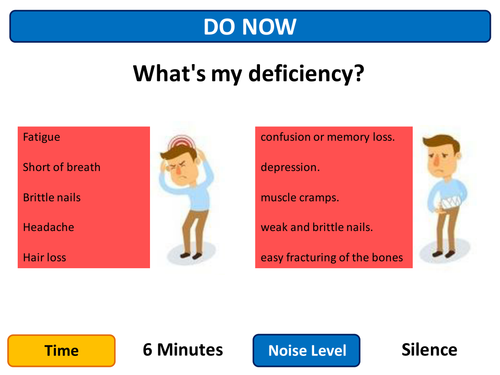
An investigation lesson on vitamins including a starter, link to a great vitamin video, table for pupils to complete as a group and 6 fact sheets for pupils to investigate and get the information they need. Extension task of class discussion about vitamins and an exit card.
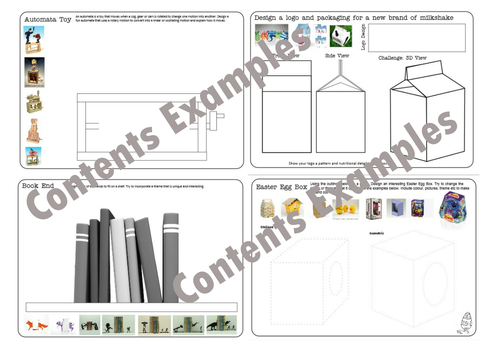
15 pages of design tasks or emergency cover work.
Design a bookend
Design a pop vinyl figure
Design a picture frame
Design a car
Design a milkshake brand
Design an automata
Design a mobile phone holder
In this lesson, students will explore adjectives and their two main roles: attributive (before the noun) and predicative (after the noun). Through a combination of direct instruction, guided practice, and peer interaction, students will deepen their understanding of how adjectives modify nouns and enrich sentences.
The lesson begins with a quick-start activity to recall prior knowledge, followed by an engaging visual explanation of adjective use. The main task includes a worksheet with real-life sentence examples, allowing students to practice identifying adjectives in different positions. Interactive tasks encourage collaboration and active learning, while peer review promotes reflection and discussion. The lesson closes with a mini-task and a plenary to consolidate key points.
This well-rounded approach ensures that students grasp the concepts and can confidently use adjectives in their writing.
Had to do a quick revision lesson for the btec engineering unit 1 exam focusing on the 8 mark questions; blended wing bodies and automated manufacturing. The slides outline what is needed to answer the questions and how to access the higher marks.
Pre completed
Revision cards for Lean Manufacturing
Powdered metallurgy
Blank revision cads for pupils to complete
Feel free to adapt
Stater answers
Blended wing bodies = Less Drag, More lift, quieter, more fuel efficient, harder to control, less safe (with regards to being able to evacuate)
Hope it helps! Please leave feedback.
This worksheet is designed as a fun and educational activity to help students understand how and when to use apostrophes correctly. It is perfect for a cover lesson or busy task where students can work independently or in small groups.
What It Covers:
Introduction to Apostrophes:
The worksheet starts with a brief, student-friendly explanation of what apostrophes are and their two main uses—showing possession and replacing missing letters in contractions.
It covers key aspects of apostrophes: contractions, possessives, and common mistakes (like using apostrophes in plurals).
It is a self-explanatory resource, requiring minimal teacher intervention—perfect for independent work during a cover lesson.
The activities are flexible and can be completed individually or in pairs.
This worksheet will help students strengthen their understanding of apostrophes while offering them an enjoyable way to practice their skills.
Revision lesson to cover the surface finishes and treatments that are available to enhance functional and aesthetic qualities in materials.
Mini reviews
Video resources
Past paper questions and knowledge check tasks
Handouts