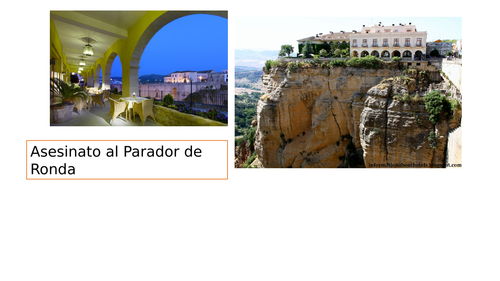

This is not quite finished so if I develop it further I will add.
My Y9s are really getting in to it and they absolutely love the crime scene investigation.
I haven’t added a crime scene document because you will have to create that yourself depending on how much time and effort you want to put in but I have explained what I do in the ppt notes. It says things like -they found fingerprints on a bottle of wine left on the table-there was a …under the bed-and in fact it isn’t under the bed it is somewhere else in the room- for things like the bed- I place photos in the room-I then have a glass with lipstick on it-I have a fingerprint kit-costs £4-I have crime scene tape, and chalk-again cheap- toy murder weapon-or in this case some fake pearls from charity shop. So you see you can set it up as you like and use whatever props you like.
In previous years I have got them to act out the inspector interviewing them-so where were you at, what were you doing when, what did you do between…and,
What is missing is who actually killed Luisa- I always have an idea but the best activity is when the students decide and you write the ending together. In my version Carmen was the intended victim even though she is pregnant and the murderer was Felipe- he found out that she was pregnant with someone else’s child and acted out of jealousy-he also didn’t want his plans to marry Luisa to be ruined by Carmen lying to her husband and telling him that the baby is Felipe’s, something she told Felipe she would do if he didn’t help her get away from Don Navarro.
Hope someone out there wants to have a go and like I say it is ripe for adaptation.
Something went wrong, please try again later.
This resource hasn't been reviewed yet
To ensure quality for our reviews, only customers who have downloaded this resource can review it
Report this resourceto let us know if it violates our terms and conditions.
Our customer service team will review your report and will be in touch.
